Introduction
As per the Notification No.[F.No.3(1)-W&M/2016] / so 4061, dated 16-12-2016, the Pradhan Mantri Garib Kalyan Deposit Scheme, 2016 has been notified. The deposits under this Scheme shall be made by any person who intends to declare undisclosed income under sub-section (1) of section 199C of the Taxation and Investment Regime for Pradhan Mantri Garib Kalyan Yojana, 2016.
As per para 7(2) of the PMGK deposit Scheme, 2016, the Authorised banks are required to furnish electronically the details of deposits made under PMGK in Form V not later than next working day to enable the Department to verify the information of the deposit before accepting the declaration.
Pre-Requisites for Uploading Form V
> To upload Form V, user should have a registered PAN in e-Filing portal to generate the ITDREIN for Form V.
> To Upload Form V, Authorised person PAN should have a valid DSC registered in e-Filing portal.
> Generated zip file of Form V should be kept ready for upload.
Steps to generate ITDREIN for Form V
To generated ITDREIN for Form V, the steps are as below:
> Step 1: Login to e-Filing portal using User ID, e-Filing Password and DOB/DOI.
> Step 2: Go to My Account -* Manage ITDREIN.
> Step 3: To generate new ITDREIN click on the button “Generate New ITDREIN”.

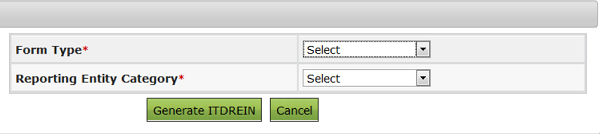
> Step 4: A Pop up with Form Type and Reporting Entity Category is Select the Form Type and Reporting Entity Category from the dropdown.
> Step 5: Select the Form Type as ‘Form V’ and select the applicable Reporting Entity Category from the dropdown.
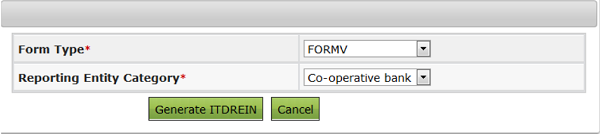
> Step 6: Click on ‘Generate ITDREIN’
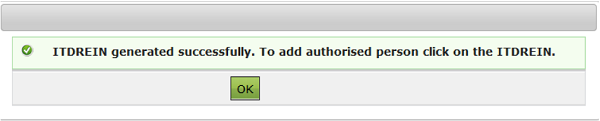
> Step 7: Success Message is displayed as shown below. User receives a confirmation e-mail on successful generation of ITDREIN to the registered Email ID. An SMS is also sent to the registered Mobile
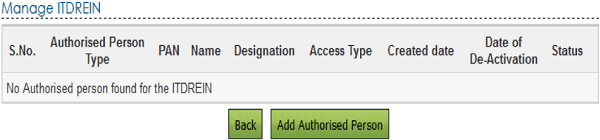
> Step 8: On Successful Generation of ITDREIN, the screen is displayed as shown below.

Steps to add Authorised Person
> Step 1: To add Authorised Person for the generated ITDREIN, click on the link provided in the ITDREIN

> Step 2: Click on the button Add Authorised Person.
> Step 3: A Pop up with Authorised Person details appears as shown below. Authorised Person Type is of two types:
♦ Designated Director – Can Upload & View the Form V.
♦ Principal Officer – Can only View the filings of Form V.
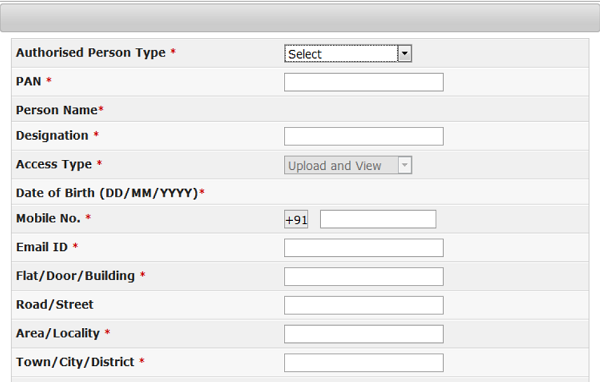
> Step 4: Enter all the details and Click on Add Authorised Person Success message is displayed as shown below.
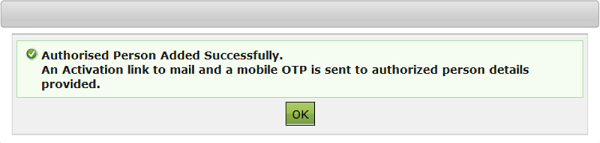
> Step 5: User receives a confirmation e-mail on successful Addition of Authorised Person to the registered Email ID and an SMS is also sent to the registered Mobile number.
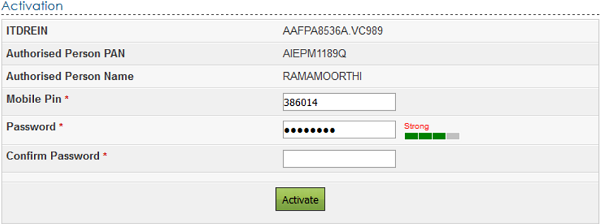
> Step 6: Authorised Person receives a confirmation e-mail with an activation link to the Authorised Person’s Email ID. An SMS along with OTP (One time Password) is sent to the Authorised Person’s Mobile Number.
In order to activate the account, the user should click on the Activation link, enter the Mobile PIN, Password and Confirm Password and click on Activate Button. On success, the user account is activated and the database is updated.
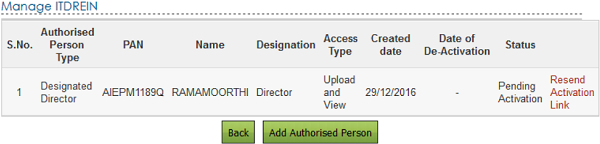
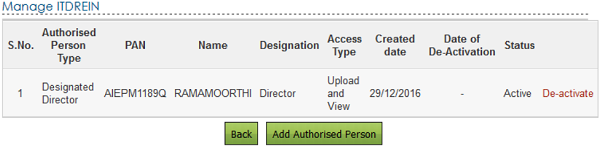
> Step 7: After the Authorised person is activated, the Authorised person can view the details as below.
Steps to Upload Form V
> Step 1: Login to e-Filing portal using ITDREIN, Authorised Person PAN and
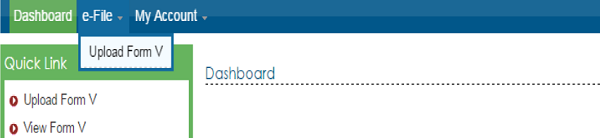
> Step 2: Go to e-File -* Upload Form V
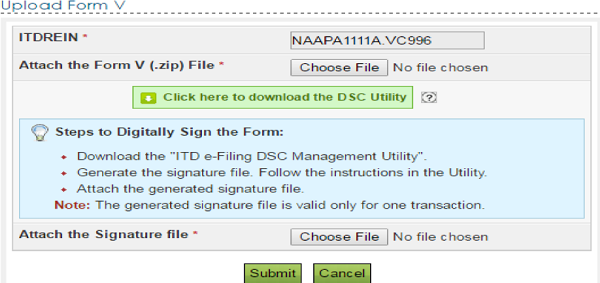
> Step 3: Upload the corresponding ZIP file of Form V. Click here to know the step by step procedure for generating a valid ZIP file.
> Step 4: Generate the Signature file using DSC Management Utility and Click on Submit button. Click here to know the step by step procedure for generating the signature file.
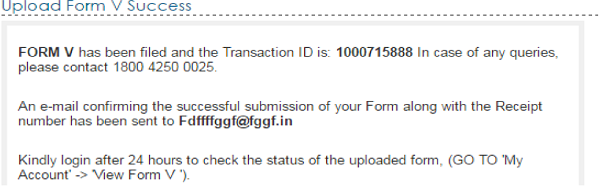
> Step 5: On successful upload user records are captured in the e-Filing system and the below success message must be displayed along with the Transaction
Steps to View Form V
> Step 1: Login to e-Filing portal using ITDREIN, Authorised Person PAN and Password.
> Step 2: Go to My Account → View Form V
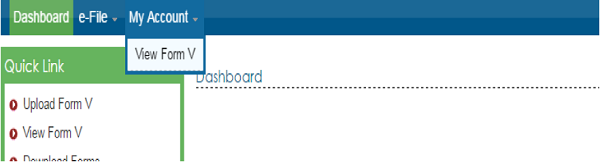
> Step 3: The uploaded Form V details are displayed under “View Form V”.
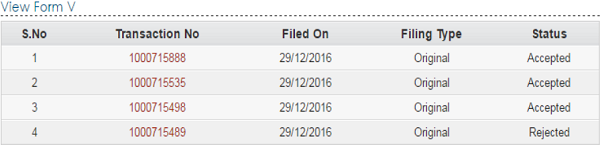
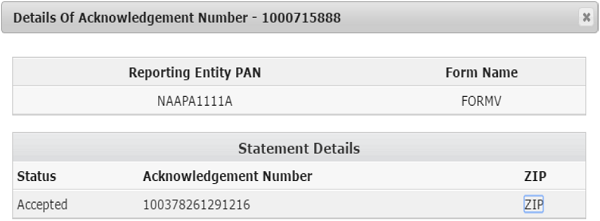
> Step 4: Click on the “Transaction No”to see the details of Form V uploaded for future reference. The uploaded zip file can be downloaded by clicking on the link under “ZIP”.
Step by Step Guide for generating Form V XML (ZIP file)
Detailed steps are as follows:
Step 1: Go to e-Filing portal https://incometaxindiaefiling.gov.in/ → Downloads → Forms (Other than ITR). Under “Forms (Other than ITR)” tab, click on the download button of “Form V (PMGK)” for downloading Form V.
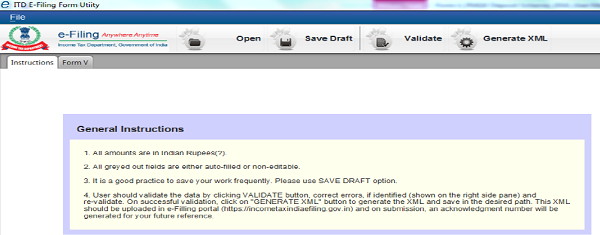
Step 2: Extract the zip folder and open the utility (ITD_EFILING_FORMV_PR1.jar).
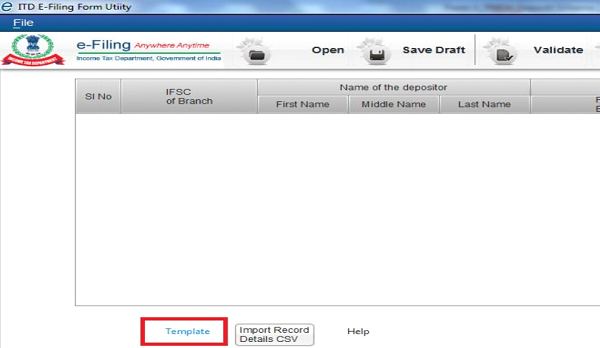
Step 3: The utility will be opened as below.
Step 4: Select the “Form V” tab. Click on the “Template” button to save the CSV template file.
Step 5: Update the data in CSV template file as per the instructions given under Help.

Step 6: While saving the updated CSV template, the “Save as type” should be selected as “CSV (Comma delimited)”.
Step 7: The updated CSV file can be imported into the Form V utility by clicking on “Import Record Details CSV”

Step 8: On successful validation, the CSV details will be imported to Form V utility. If any error is shown while importing the data, make sure the data updated in CSV file is complying with the instructions given under Help.
Step 9: Verify the data and click on “Generate XML” button. The XML will be saved in a ZIP format.
Step by Step Guide for Uploading Signature File
Detailed steps are as follows:
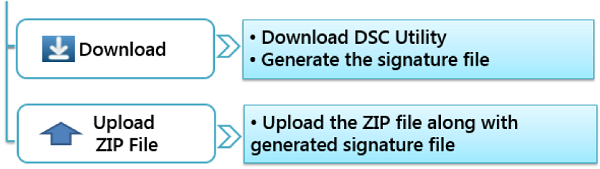
Step 1: Download “ITD e-Filing DSC Management Utility” from the link provided in e-Filing portal at the time of uploading Form V.
Step 2: Extract the zip folder and open the utility (DSC_MGMT_UTILITY.jar).
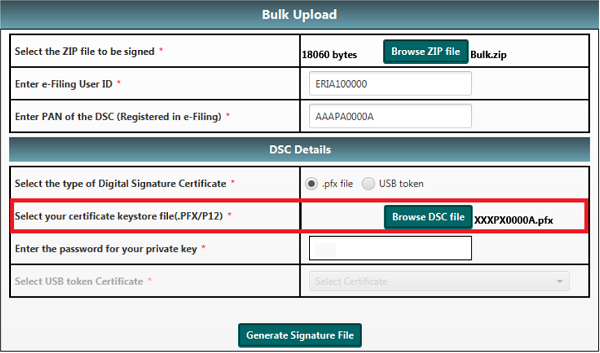
Step 3: The utility will be opened as below. Select “Bulk Upload” tab.
Step 4: Use the “Browse” button to select the valid ZIP file to be uploaded in e-Filing.
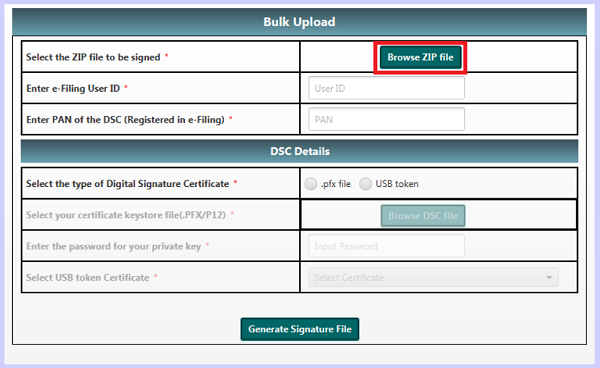
Step 6: Enter the e-Filing User ID.
Step 7: Enter the PAN of the DSC registered in e-Filing.
Step 8: Select the type of Digital Signature Certificate.
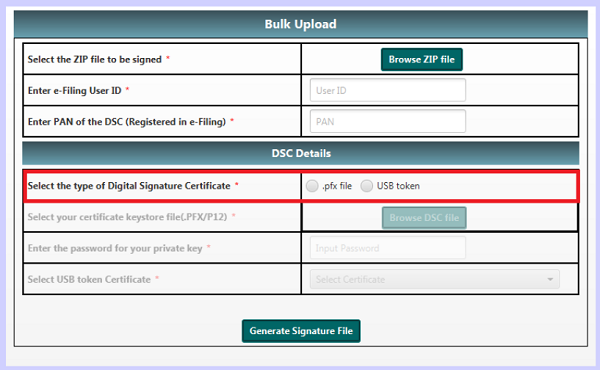
Using .pfx File:
Step (i): Click on “Browse” button to select a valid “.pfx” file.
Step (ii): Enter the password for the selected “.pfx” file.
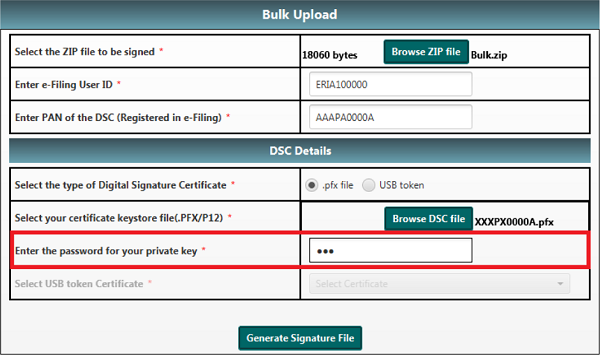
Step (iii): Click on “Generate Signature file” button.
A success message will be displayed and signature file will be generated and saved at the location where ZIP was stored.

Step (iv): Upload the ZIP file along with the generated signature file in e-Filing portal to complete the filing with DSC.
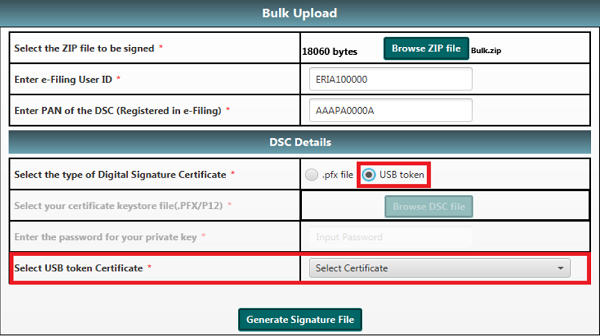
Using USB Token:
Step (i): Select a valid USB token certificate.
Step (ii): Enter USB token PIN.
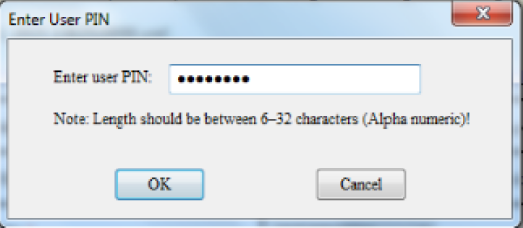
Step (iii): Click on ‘OK’ button.
A success message will be displayed and signature file will be generated and saved at the location where XML was stored.

Step (iv): Upload the ZIP file along with the generated signature file in e-Filing portal to complete the filing with DSC.